
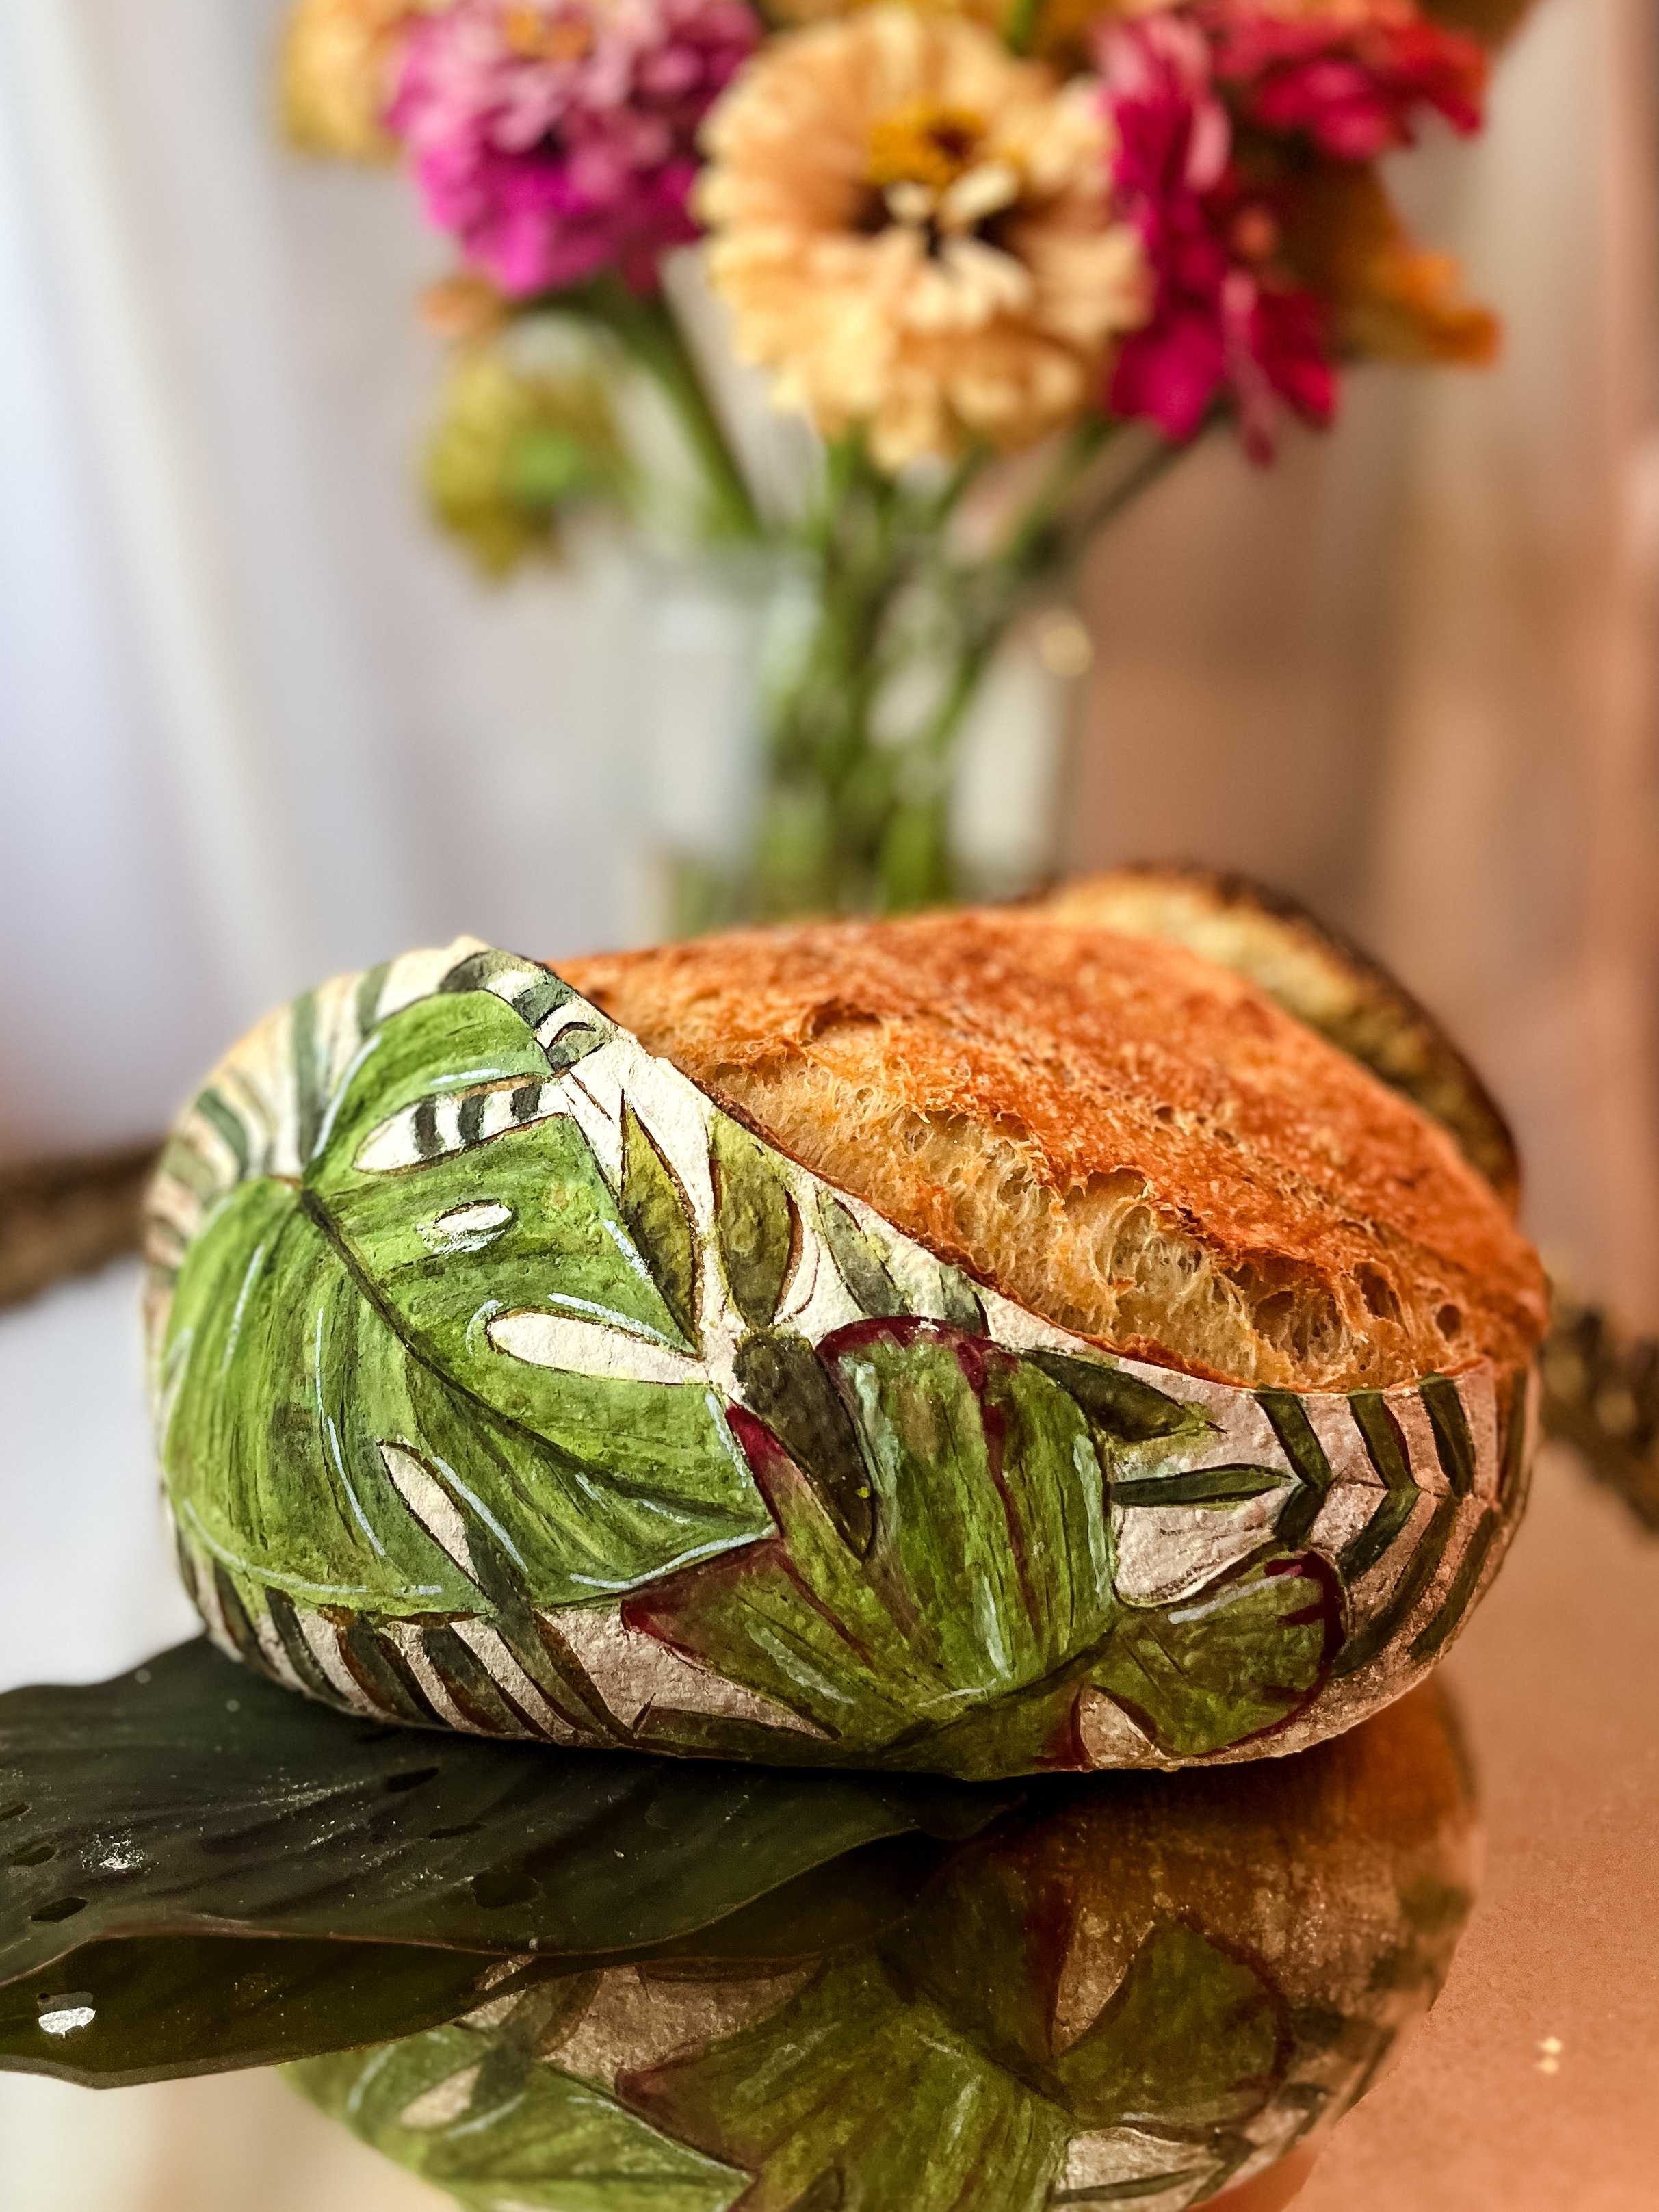
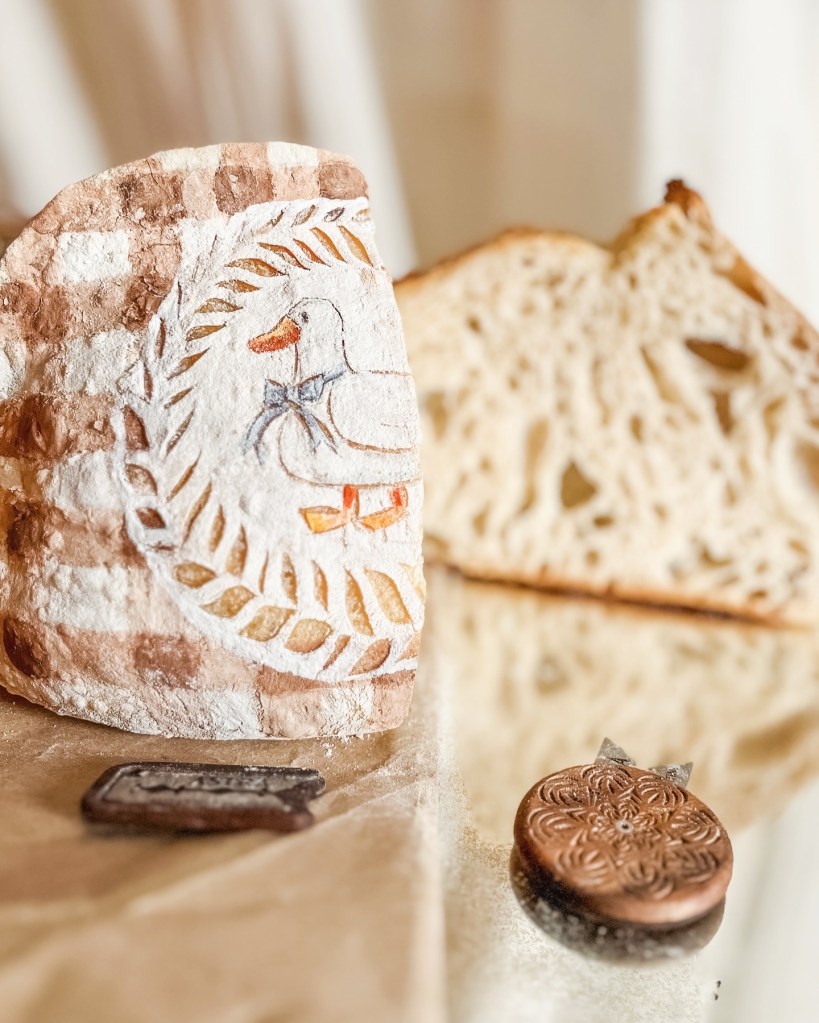
Painting sourdough is an art form that brings together creativity and baking in the most wonderful way. If you’re new to the world of painted bread, don’t worry. I will walk you through everything you need to get started, from essential tools to the step-by-step process, and tips for achieving stunning results. Whether you’re looking to add a little personality to your bakes or take your sourdough loaves to an entirely new artistic level, painting with natural food coloring is a fun and rewarding hobby!

What You’ll Need to Get Started 🌿🎨
Before diving into the creative process, these are some of the essential supplies you’ll need to paint your sourdough:
- Natural Food Coloring:
The most important part of painting sourdough is, of course, the paint! When choosing colors, make sure you’re using natural, food-safe dyes. Some great options include matcha for green, butterfly pea flower for blue, purple sweet potato for vibrant purple, and radish for red, and cocoa for brown. Brands like Suncore Foods, Supernatural, and Anthony’s Goods offer a range of colors made from plants, flowers, and natural pigments. These are safe to consume and give your loaves gorgeous, vibrant hues. - Watercolor Brushes:
While you can technically use any brush, I recommend a set of watercolor brushes, which provide more control and allow for finer details. Make sure to use a separate set of brushes just for painting bread. You don’t want to risk mixing in any non food safe paint chemicals. - Artist Palettes or Small Dishes:
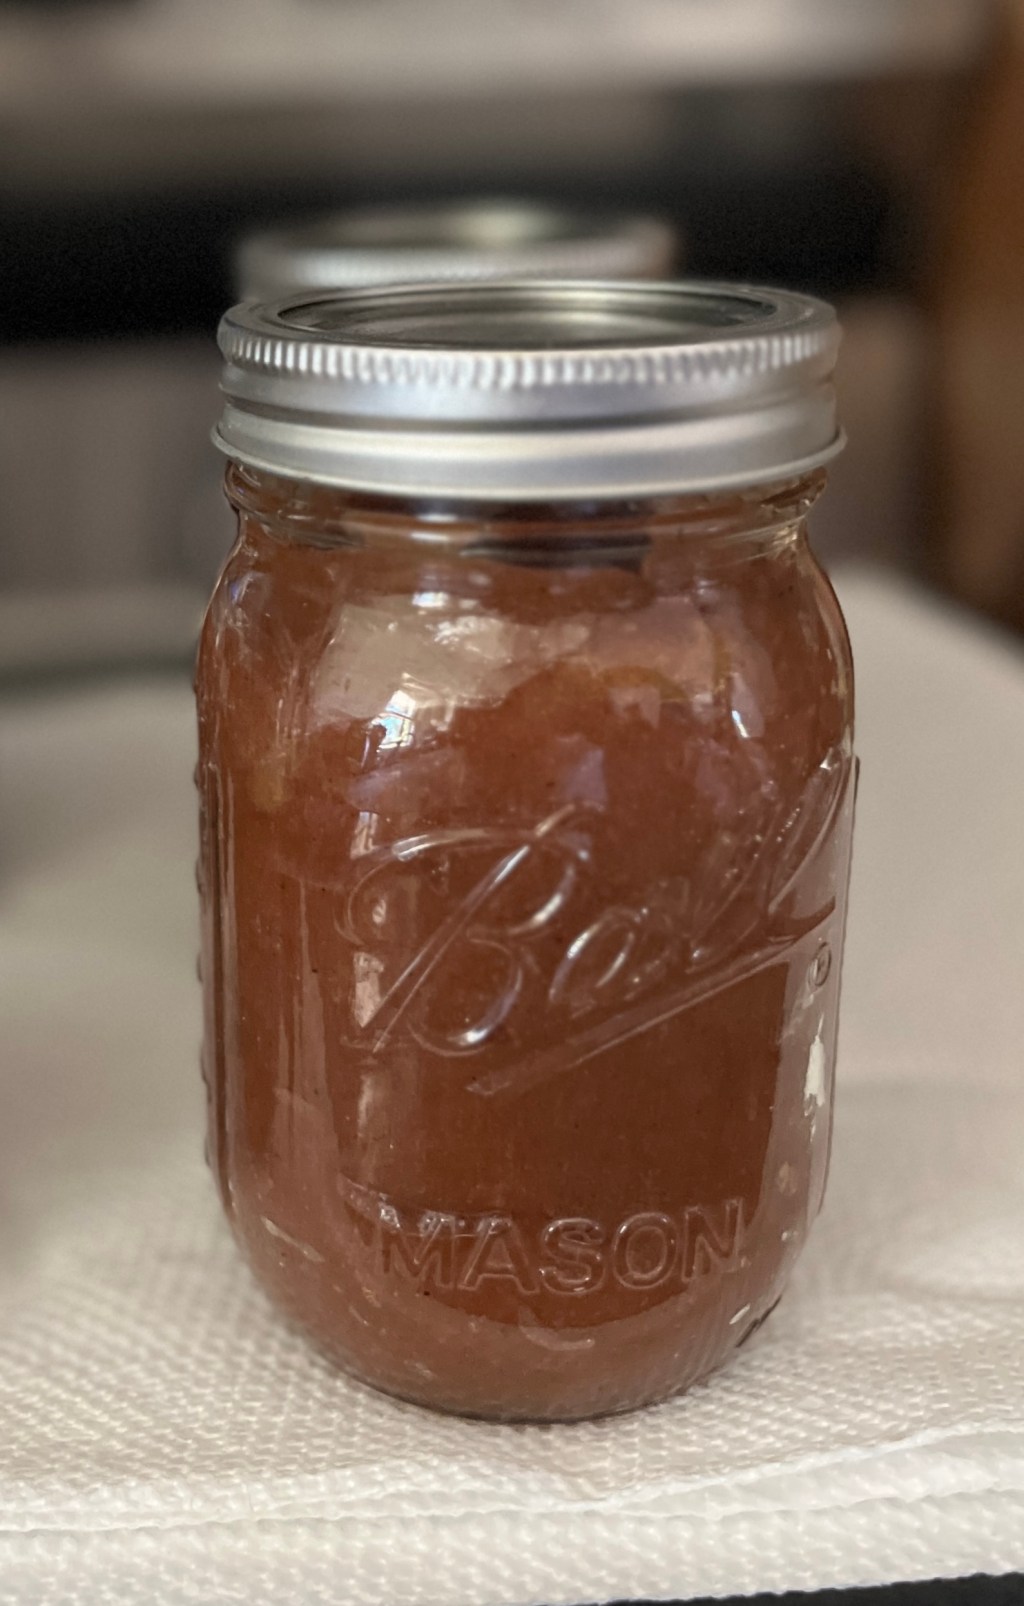
You’ll need a place to mix your natural food coloring. You can use a simple artist palette, or even just a small white plate or dish. This is where you’ll scoop out the color powders and mix your colors. - Mason Jars or Cups:
A couple of mason jars or cups are essential. Use one for clean water to rinse your brushes, and one for loading up your brushes with paint. Keeping these separate helps ensure your colors don’t get muddied. - Paper Towels and Toothpicks:
Paper towels come in handy for blotting any excess paint off your brush, while toothpicks are useful for cleaning out any rice flour or flour dust from your loaf’s score lines.
If you’re interested in the tools and supplies I use for painting sourdough you can find all of these products in my Amazon storefront. It’s a great way to easily grab everything you need in one place!
Please note: As an Amazon Associate, I may earn a small commission if you decide to purchase through the links in my storefront. It doesn’t cost you anything extra, but it helps support my creative journey and allows me to keep sharing tips, tutorials, and inspiration with you!
Thank you so much for your support—I’m truly grateful for each of you who chooses to shop through my links. Your support means the world to me and helps me continue doing what I love.


Step-by-Step Instructions: From Scoring to Painting ✨🍞
Now that you’ve gathered your supplies, let’s walk through the process of painting your sourdough loaf:
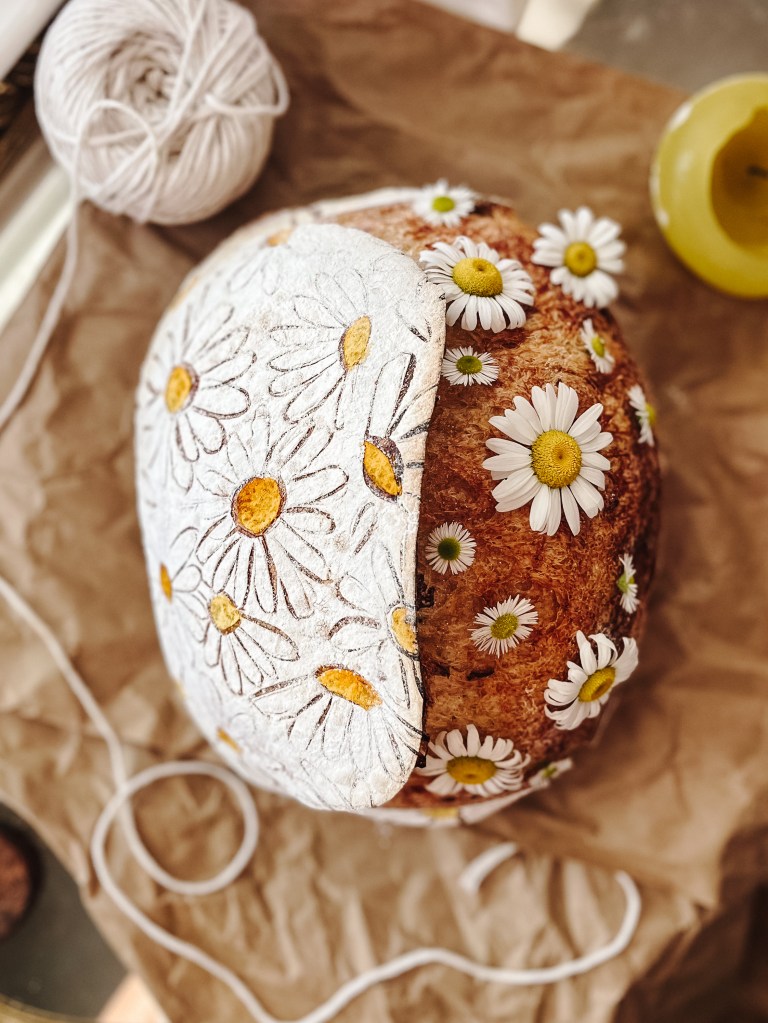
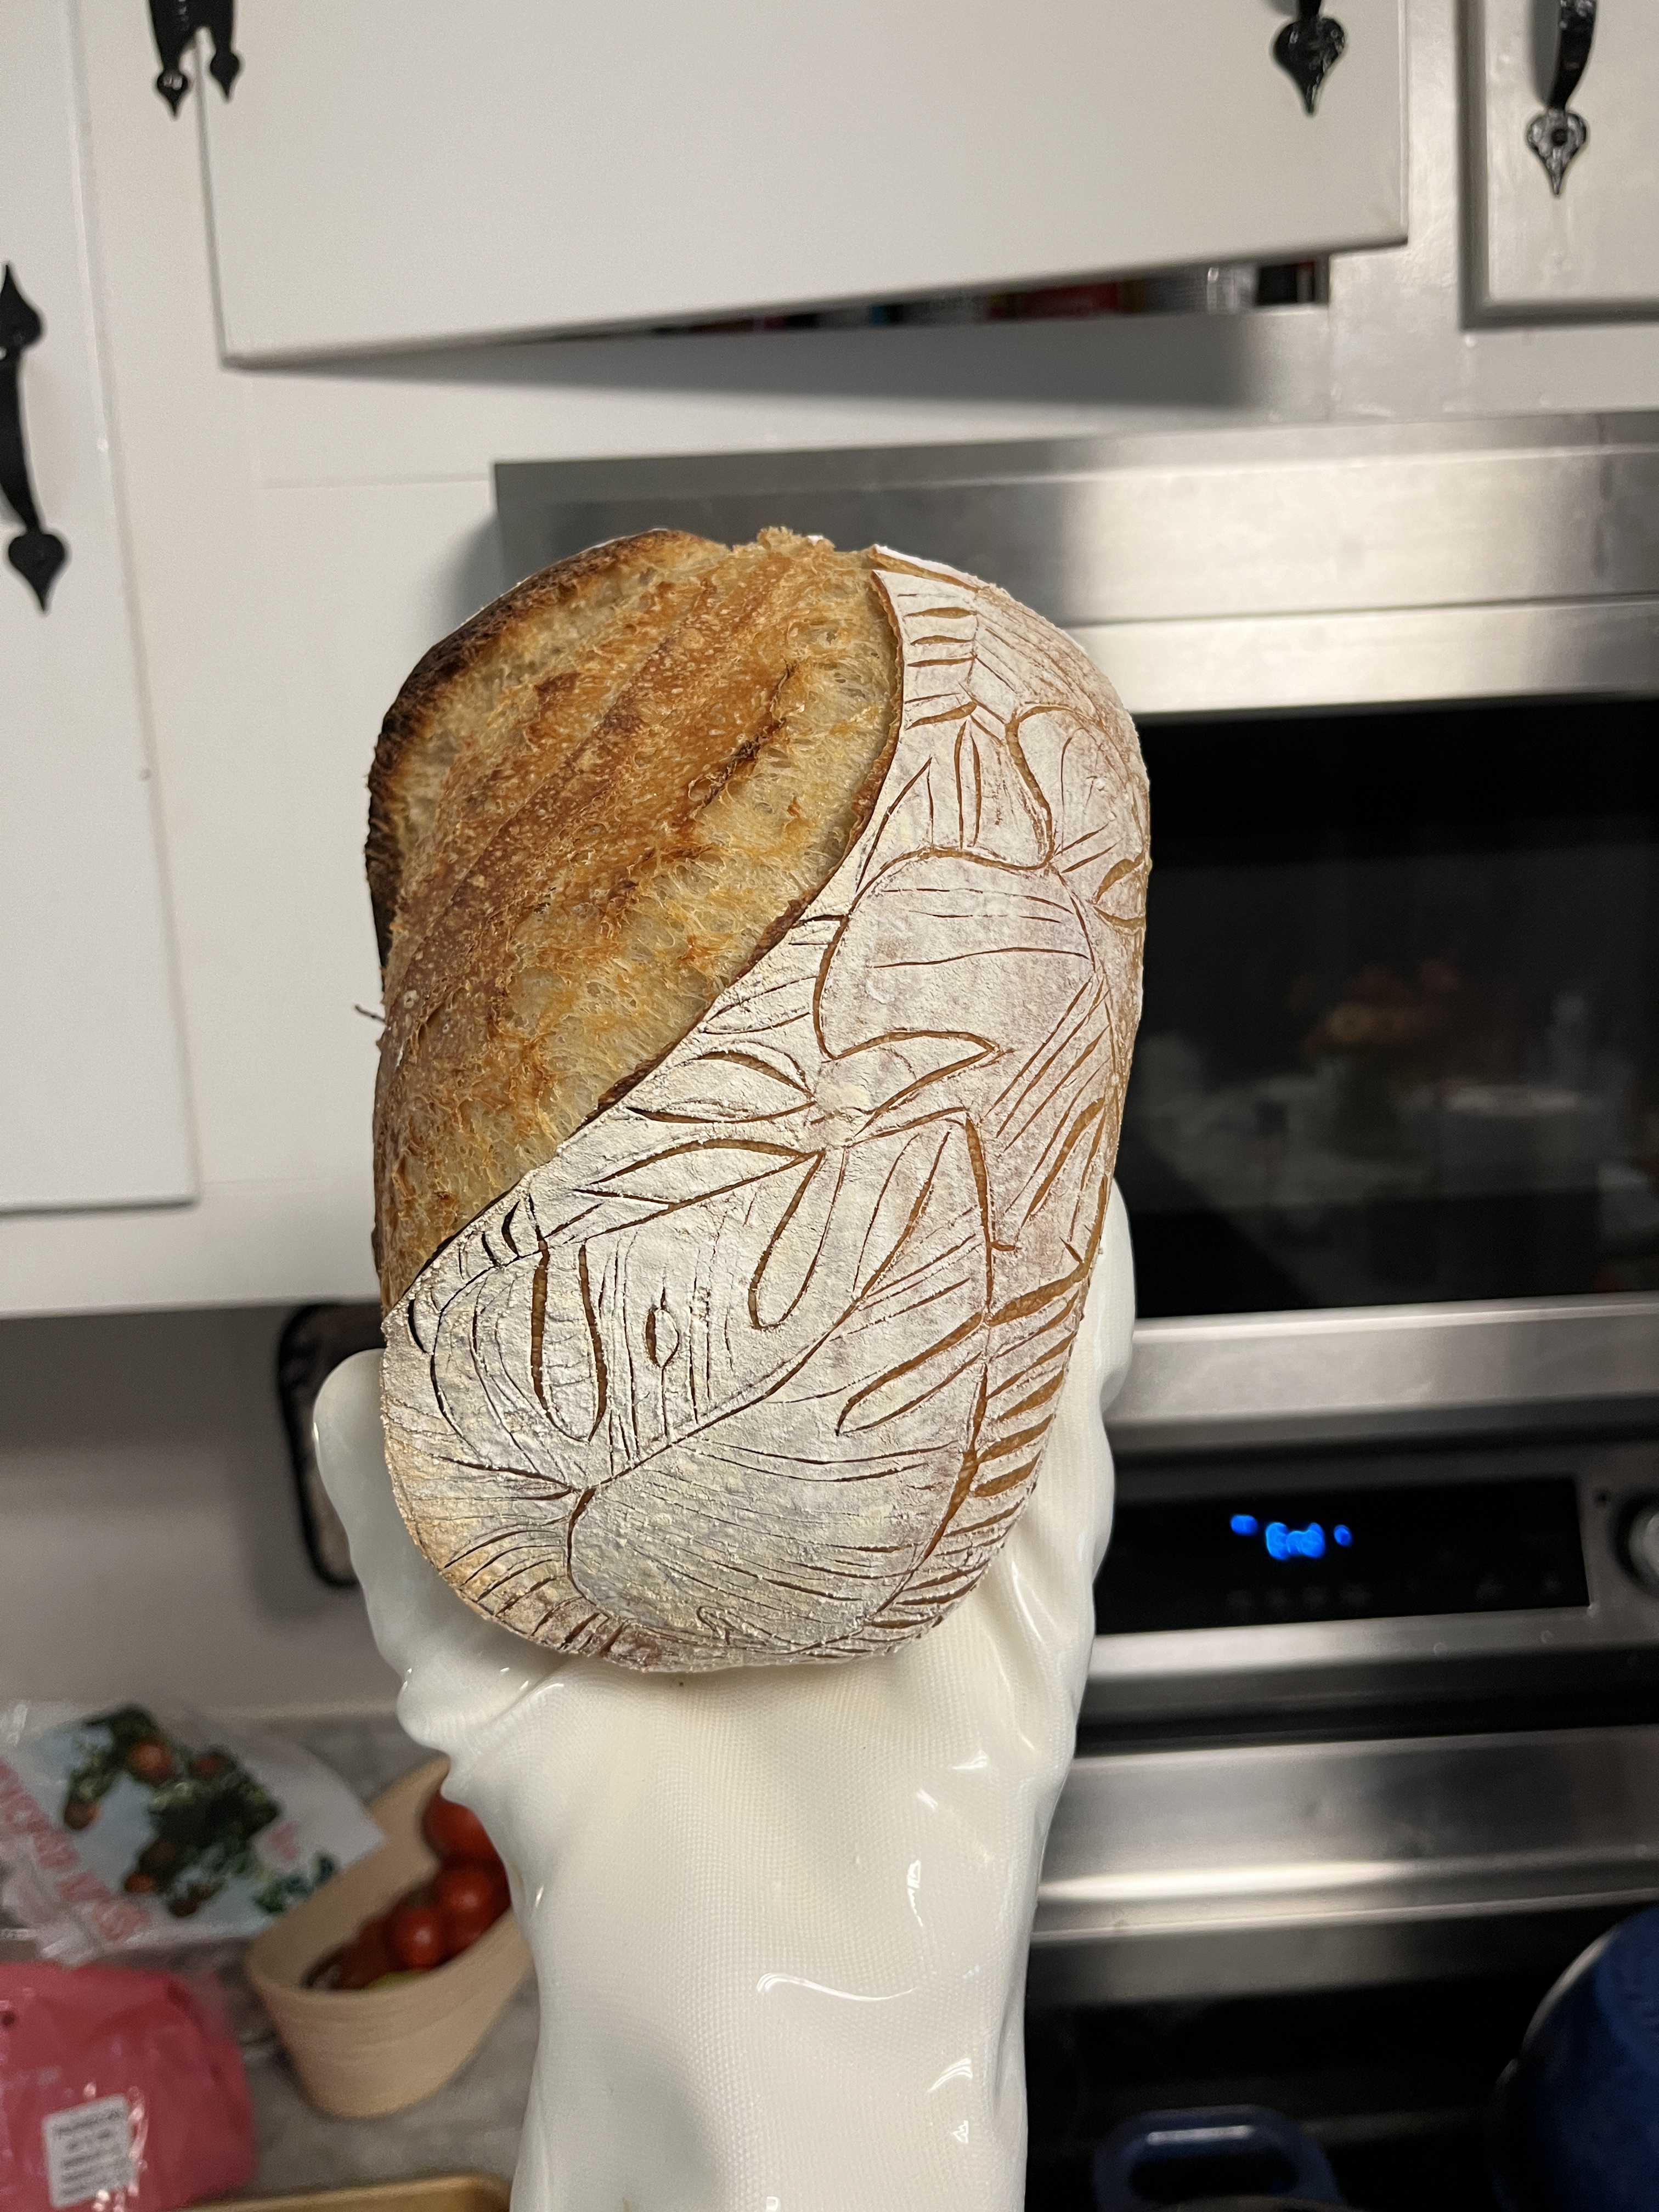
- Score the Loaf:
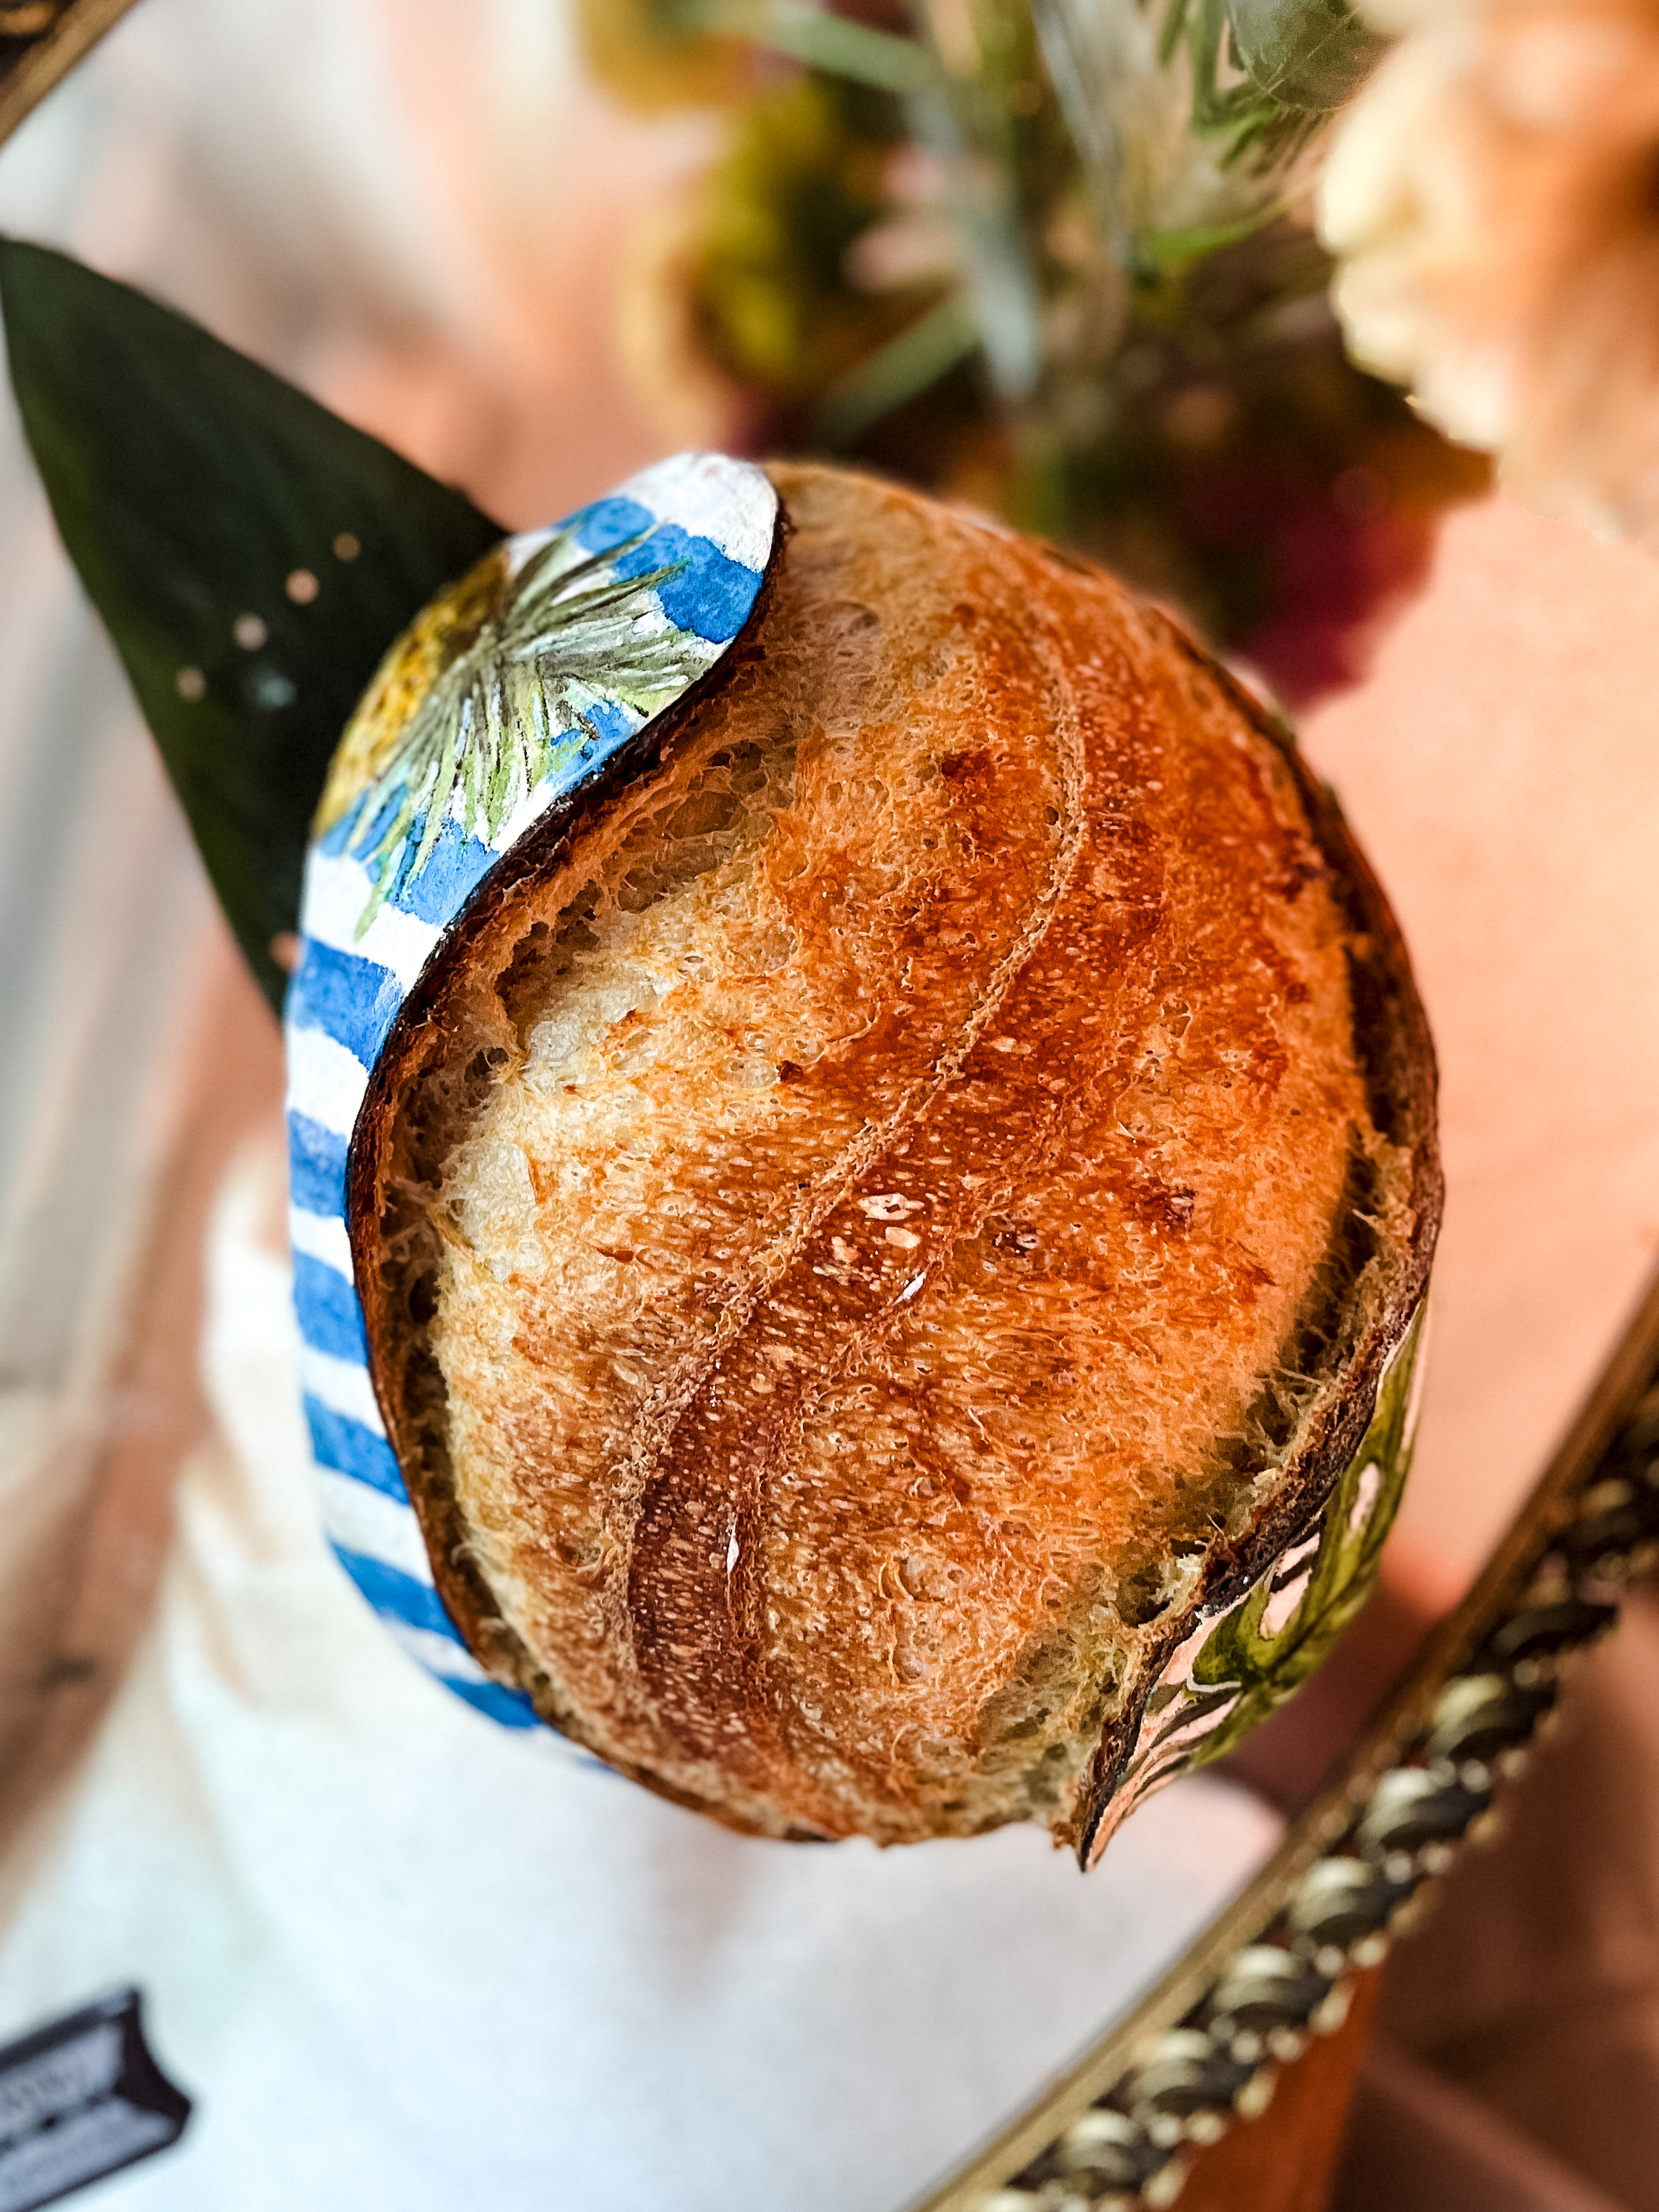
Scoring is an important step when painting your loaf. The cuts you make will serve as a guide for your design and help prevent the paint from flooding the dough. Use a sharp blade or lame to create a pattern that suits your design—floral, geometric, or abstract, it’s up to you! Make sure to properly prepare your loaf for scoring and painting by applying fresh rice flour. Here is my post on how to prepare a loaf for scoring. - Bake Your Sourdough:
Start by baking your sourdough loaf as you normally would. Make sure it’s fully baked and cooled down for at least 60 minutes after baking, it’s ideal to wait until it’s cool when you pick it up. You want the bread to be cool enough that the paint will not crack the rice flour when its applied - Prepare Your Colors:
In your palette or small dishes, prepare your natural food colors. If you’re using powder-based colors, you can mix them with a small amount of water to create a paint-like thick paste consistency. Start with a small amount of water and adjust as needed. You can also experiment with color combinations to get the exact shade you want! - Start Painting:
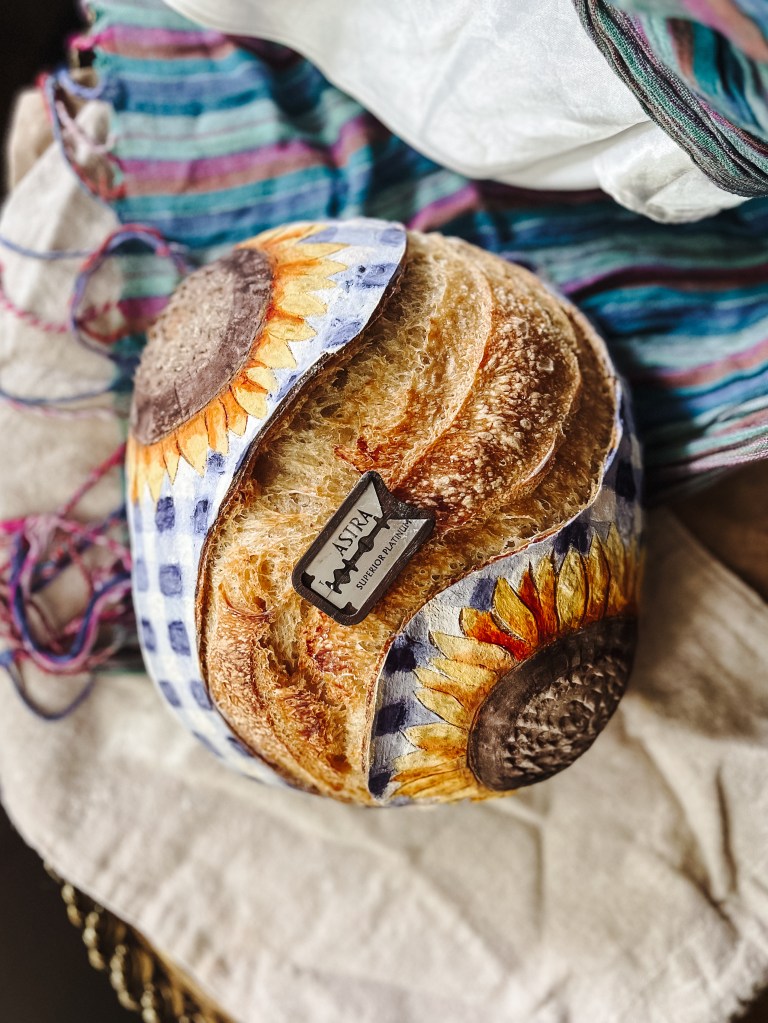
Use your watercolor brushes to gently paint your loaf. I like to start with lighter colors first and then build up with darker shades. Be mindful of how much water you use—too much and the paint might run or escape your score lines; too little, and it could be hard to apply evenly, and the rice flour will stick to your brush. Make sure you are not painting too close to score lines, rice flour tends to wick moisture which can spoil your design. A good technique is to paint in layers. Apply one color, let it dry slightly, then add another color for depth and richness. You can also use different brush strokes to create texture or patterns within the painted areas. - Let the Paint Dry:
After applying your paint, let your loaf dry before moving it around too much. This step ensures that the colors set and don’t smudge. If you are packaging make sure your loaf has dried fully before you package.
Tips for Success: How to Avoid Common Mistakes 🖌️🌿
As with any craft, it’s easy to make mistakes while painting sourdough, but with a little practice, you’ll get the hang of it. Here are some tips to help you get the best results:
- Less Water is More:
Be cautious with how much water you use. If your brush is too wet, the paint can spread too far and flood the design. A slightly damp brush works best for controlling the flow of color. - Don’t Rush:
Take your time when painting. It’s tempting to rush through the process, but allowing each layer of paint to dry a bit before adding the next will prevent colors from blending together too much. - Use Toothpicks for Detail:
If your scoring lines get filled with flour or paint, use a toothpick to gently clean out the edges. This helps define your design and keeps it crisp. - Choose Your Colors Wisely:
While it’s fun to experiment with different colors, try to balance out vibrant hues with more subtle shades. A mix of bold and soft colors can create a more visually pleasing result.

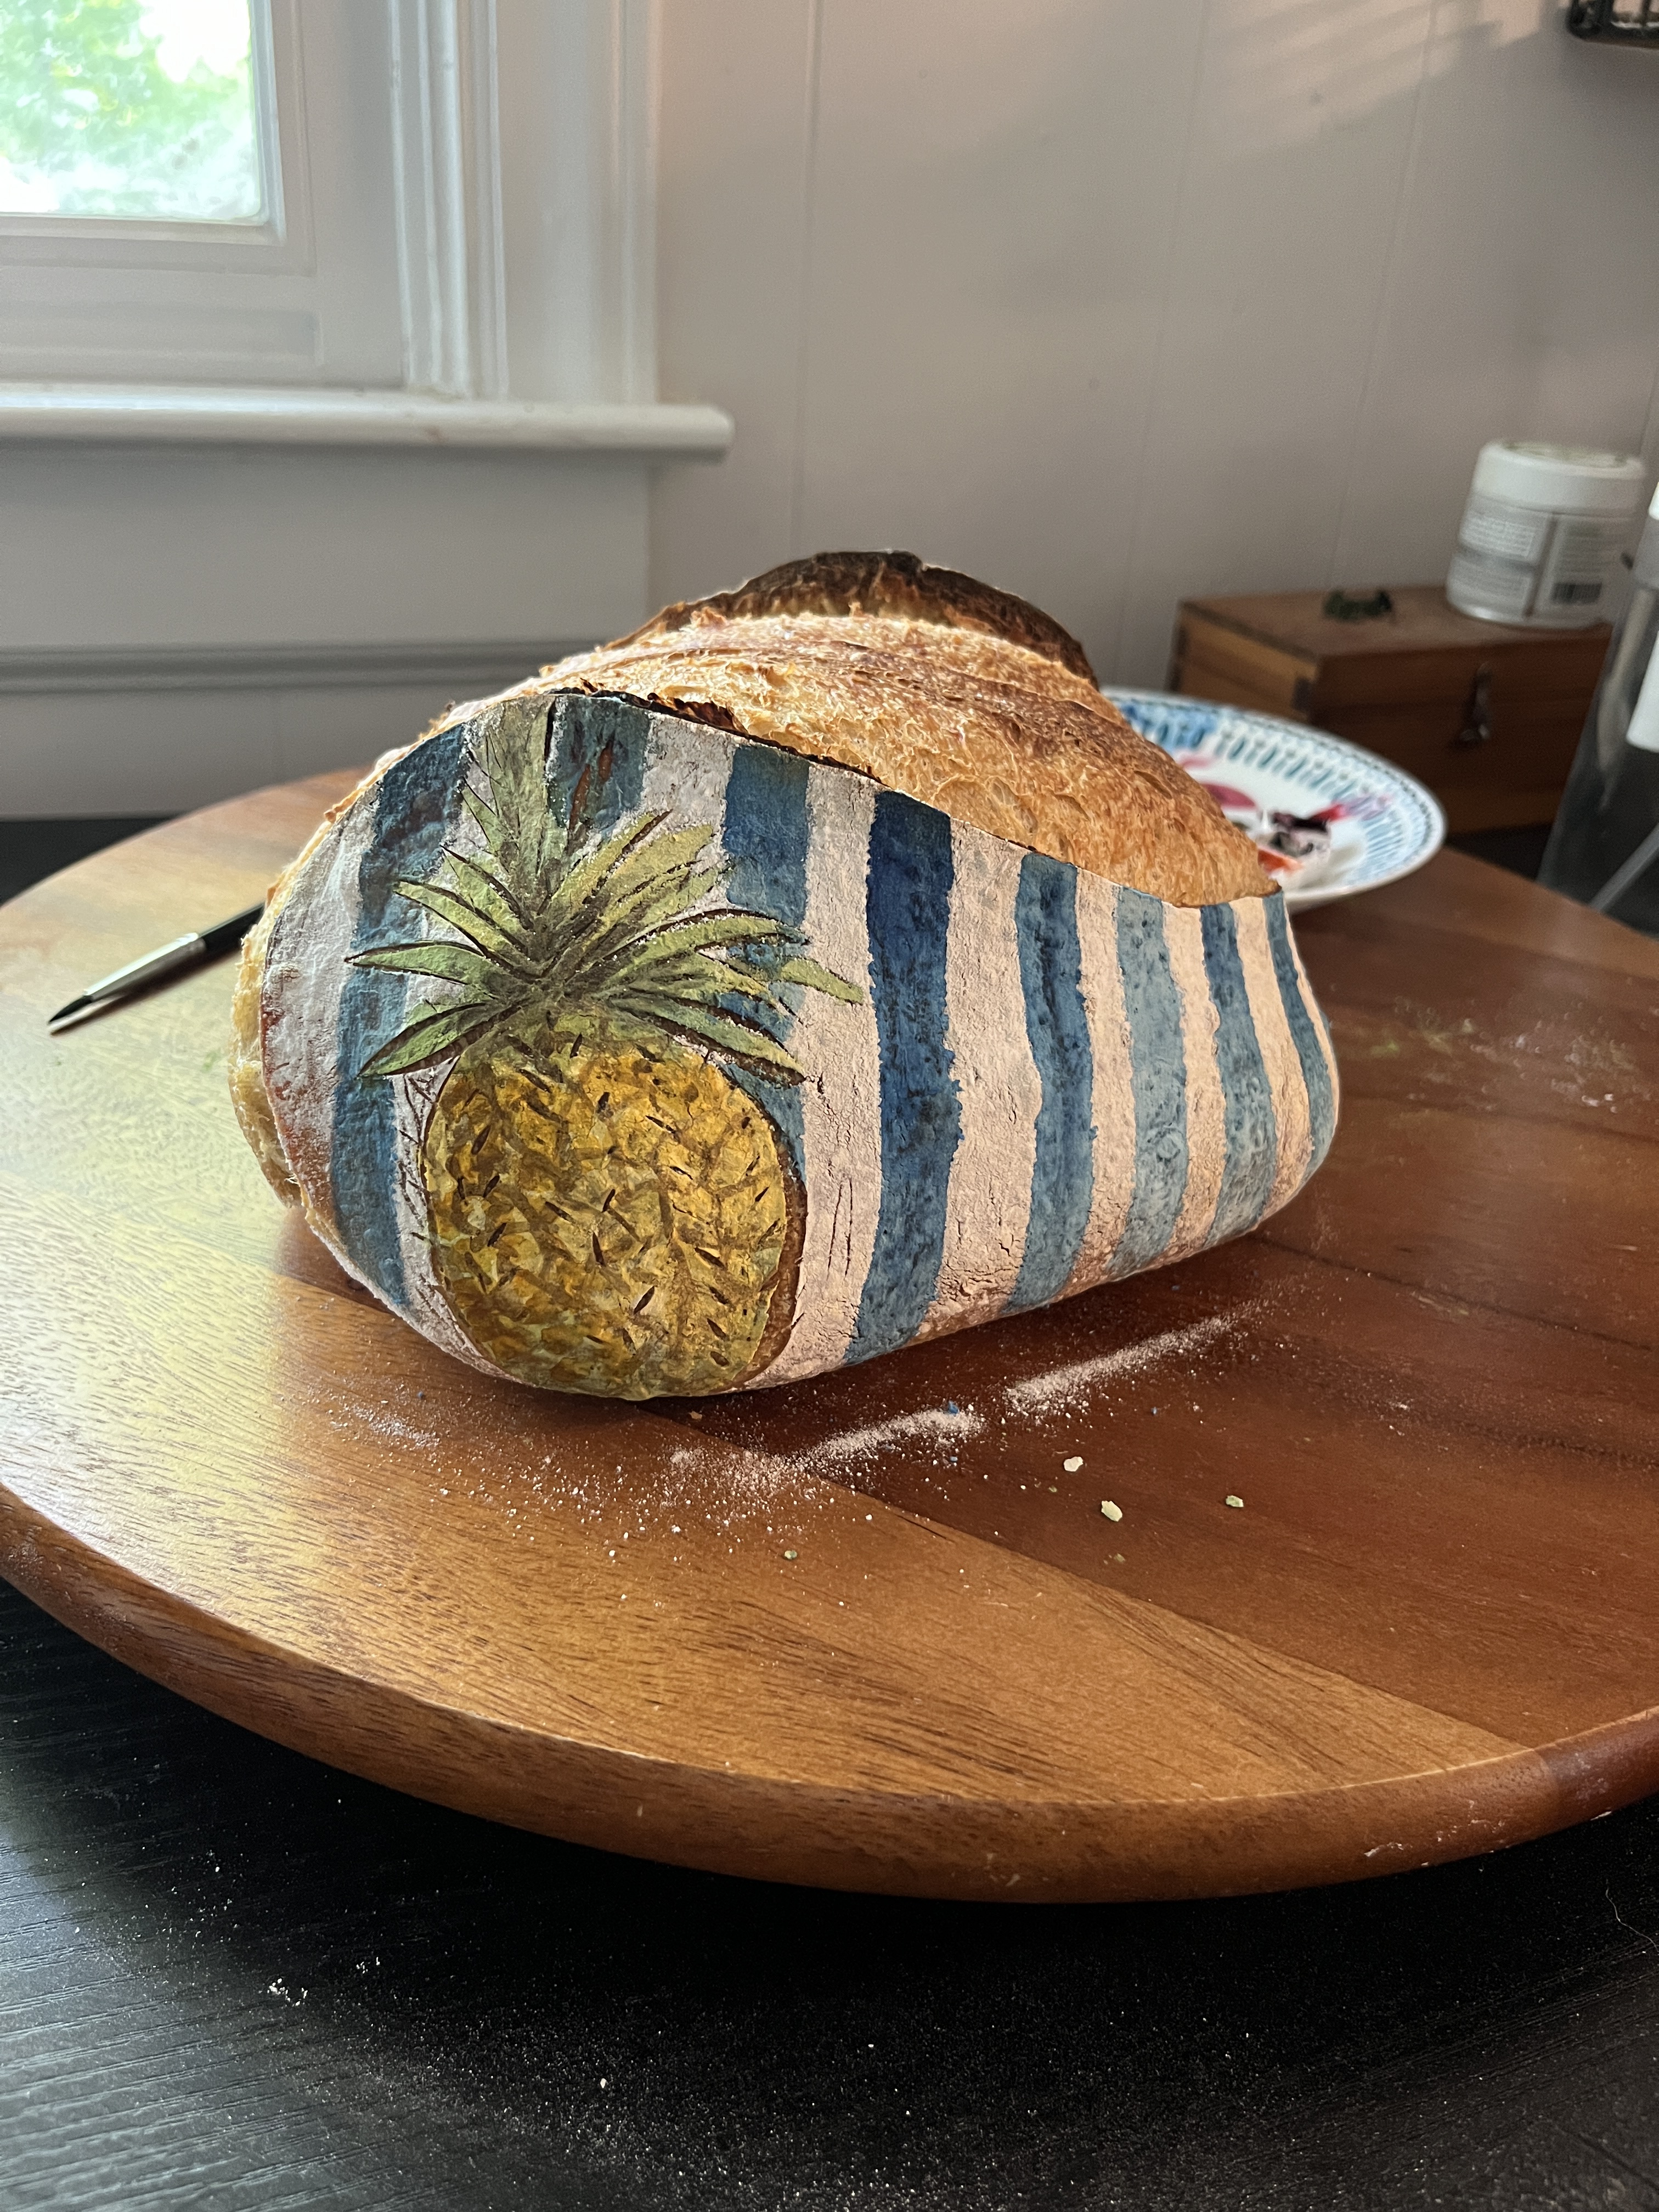
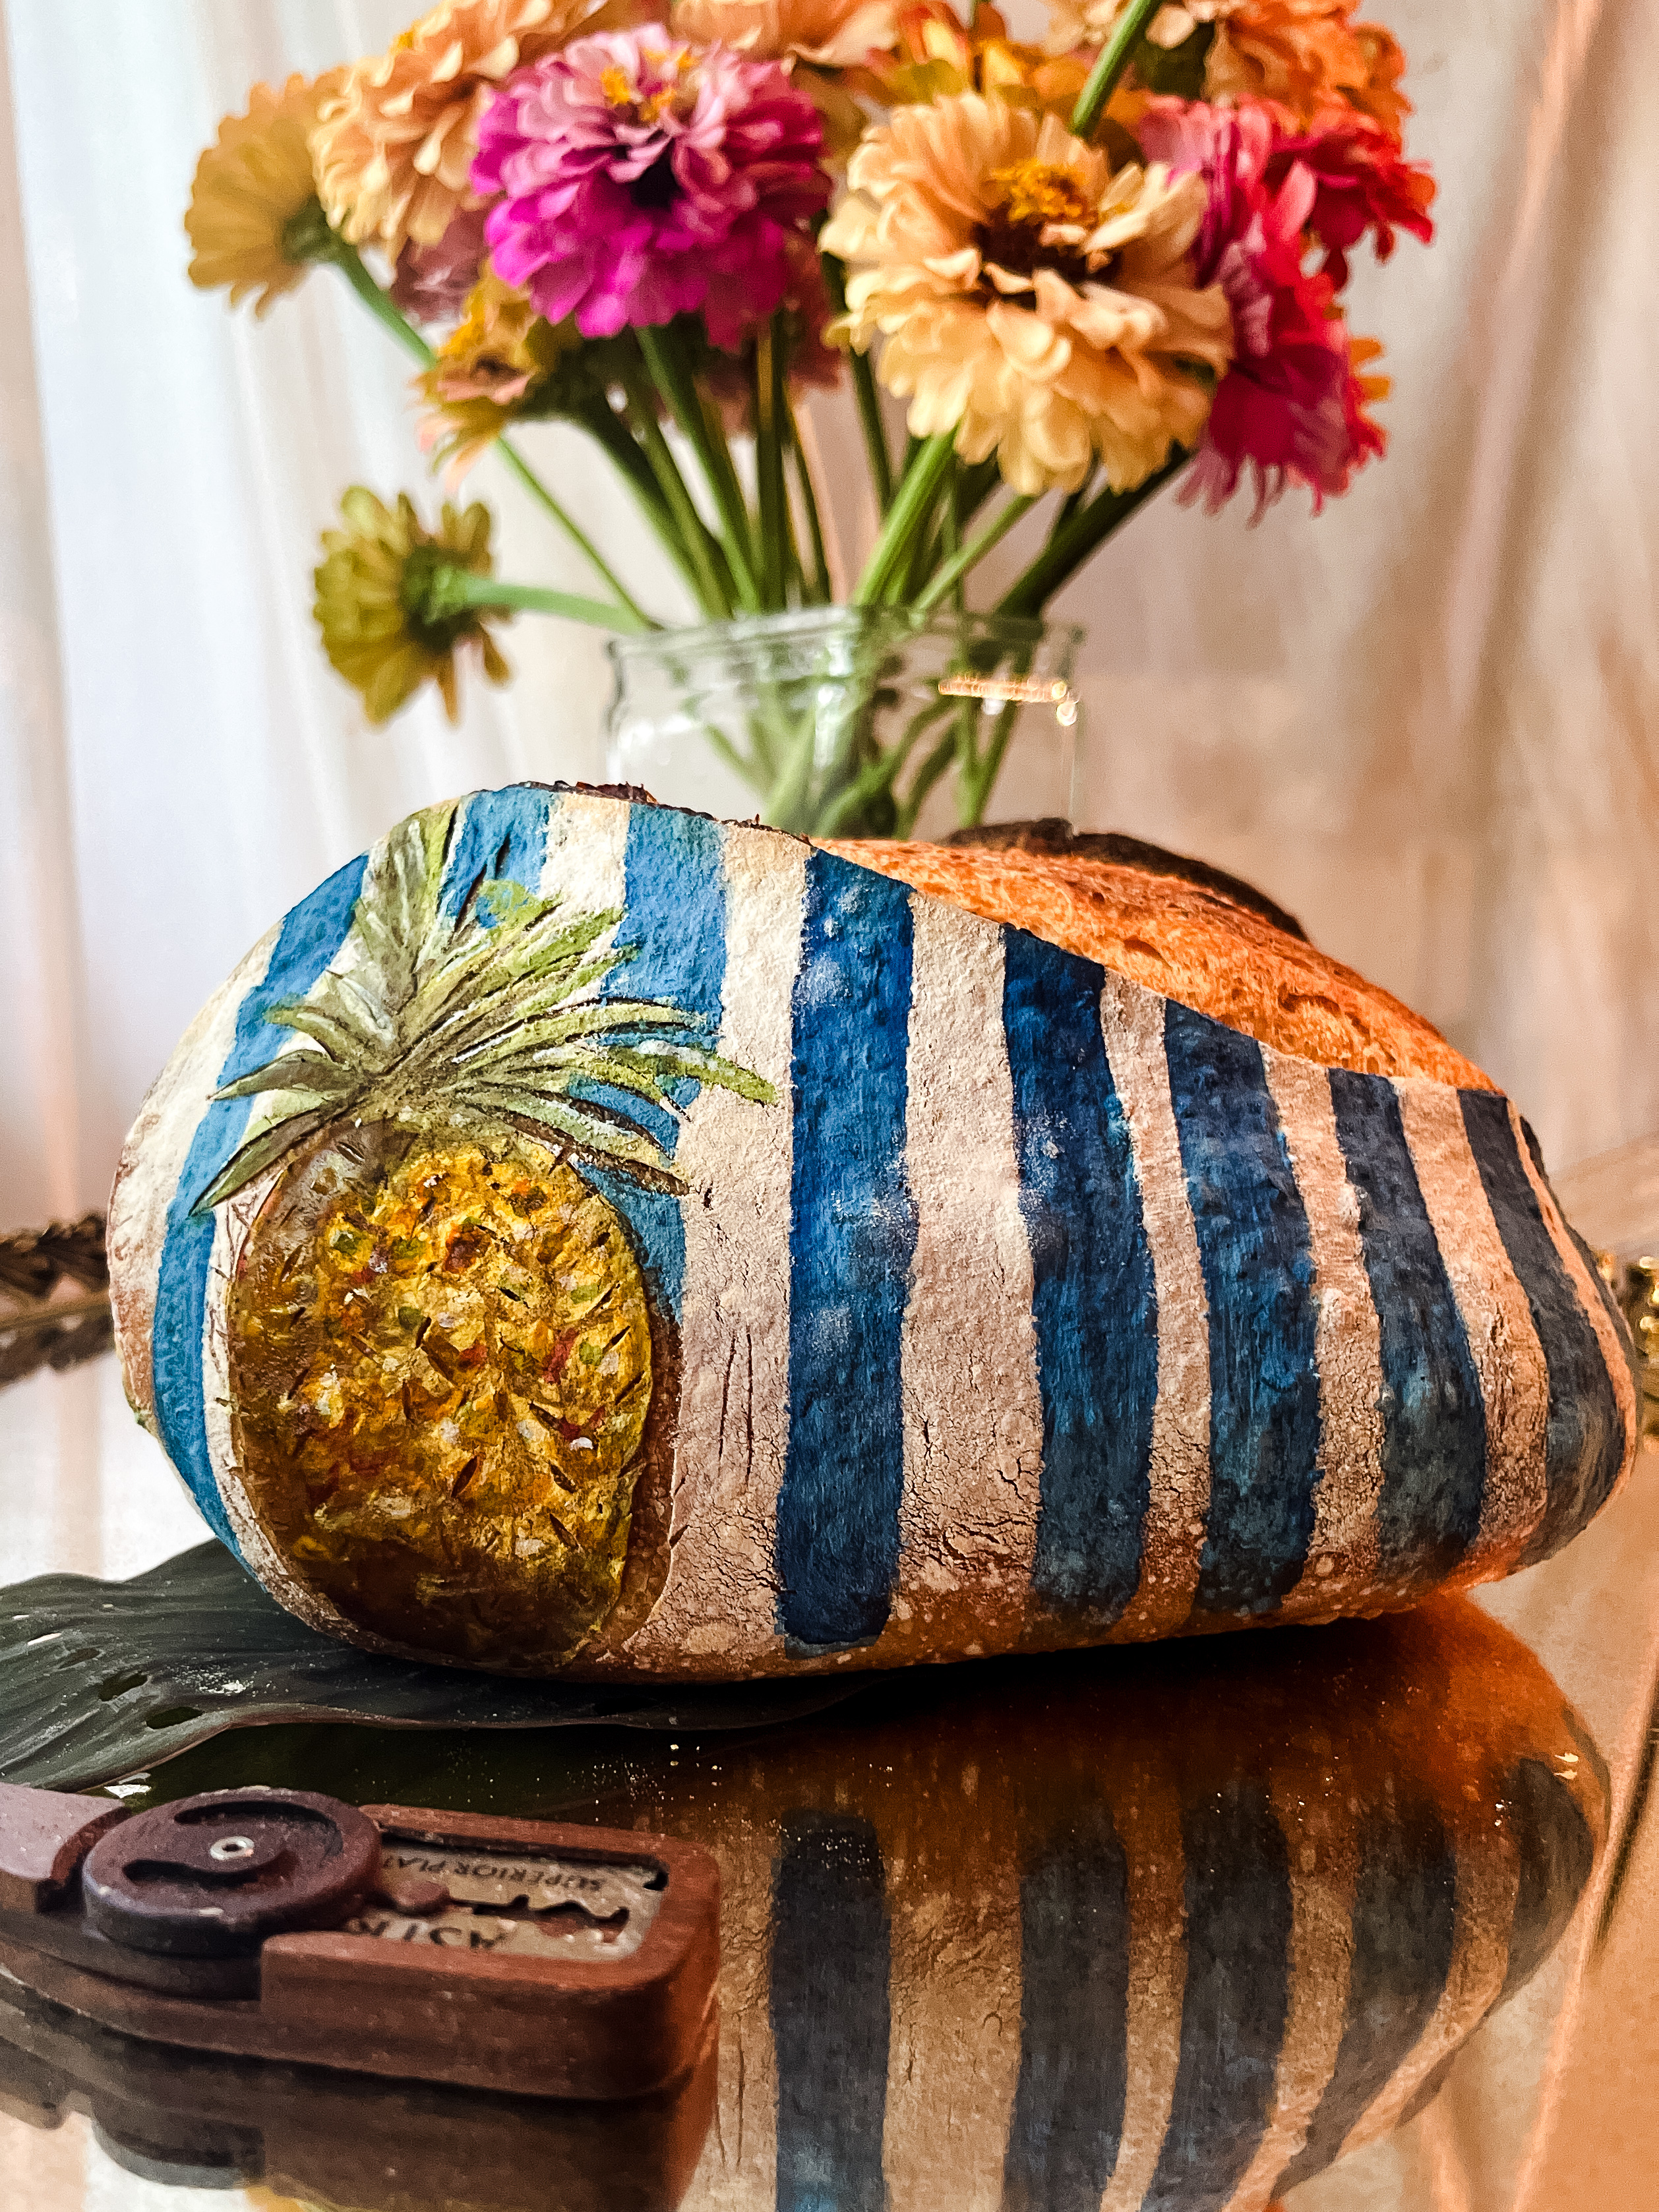
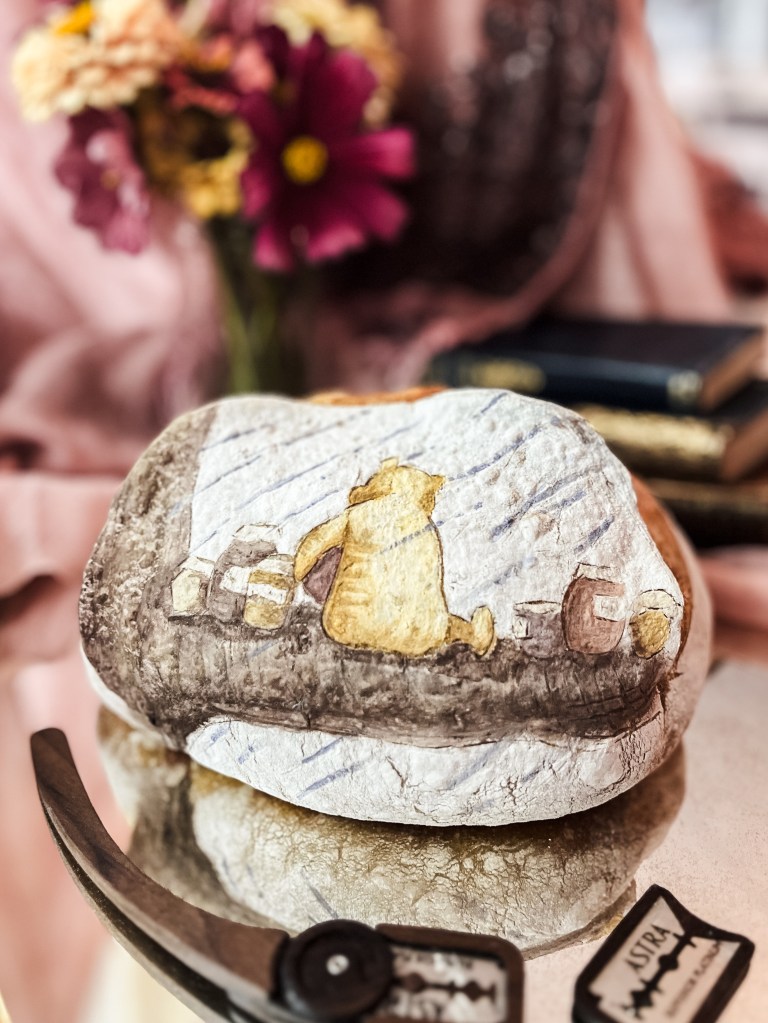
This is a loaf which had LOADS of mistakes and I was able to correct some and found ways to incorporate others into the design.
What to Do If Your Loaf Doesn’t Turn Out Perfect 🤔🍞
Sometimes, even the best plans don’t come together perfectly—and that’s okay! If your loaf doesn’t turn out as you hoped, try not to be discouraged. Here are some ways to salvage the situation:
- Embrace the Imperfection:
Often, bread painting is about capturing the handmade, rustic and wild nature of the sourdough. Even if your lines are a little blurry or the paint bled in places, it still adds character and uniqueness to your bread. - Use It as a Learning Opportunity:
Mistakes happen, and they’re great opportunities to learn. Think about what went wrong and how you can adjust your technique next time. Maybe you used too much water or didn’t let the bread cool enough—now you know for next time! - White Out:
I try not to rely on this method, but sometimes you just need to remove some blurred edges or cover over a bit of paint that’s gone out of the lines. In this case I have applied some fresh rice flour with my finger to soften the mistake. You can also use liquid whitener food coloring, while I don’t love this method I have used it successfully
Final Thoughts: Sourdough Painting as a Creative Outlet 🎨💭
Painting sourdough is a beautiful creative hobby and is wonderful for combining your love for baking with your creativity. It’s also a wonderful way to make your bakes unique and share your creativity with others in a way they have never seen. Whether you’re creating loaves for special occasions or just for fun. With these simple steps and tips, you’ll be on your way to turning every loaf into a work of art.
If you found this post helpful, please like and share it!
I would love to hear from you, send me pictures of your painted loaves, or tag me on social media!
I would also love to hear from you, what do YOU want to know about painting sourdough?
Get ready to unleash your inner artist and make your sourdough loaves the canvas for something truly magical. Happy painting!


Leave a reply to Alannah W Cancel reply