Love sourdough baking but need a recipe that’s easy to follow? This abbreviated sourdough recipe lays out all the essential steps in a concise, no-frills format. Perfect for bakers who already understand the process and just need a quick reference guide, this streamlined version keeps your baking simple and stress-free. Let’s get started!
Want to check out the more in detail post? You can read it here.
What you will need:
Ingredients:
- 375 g-385 g warm water*
- 500 g bread flour**
- 95 g active sourdough starter
- 10 g of sea salt, finely ground
- Thai rice flour or other ultra fine rice flour
*I like to stick to around 85°F water but anything higher than 110°F will damage yeast.
**I use king Arthur’s Bakers Classic Flour, you can use their regular bread flour. Or a flour with similar protein content. 12-14% protein is ideal and important for dough structure

Tools:
- Large mixing bowl (glass is ideal but not necessary)
- Small bowl ( for weighing out salt)
- Covering for your bowl ( like a clean damp cloth, bees wax wrap, plastic wrap.— note: do not use tin foil, sourdough can eat holes in it!)
- Food thermometer
- Pen and paper for noting times and temperature
- Scale
- Bench scraper
- Proofing basket, or a bowl lined with a tea towel dusted with flour
- Dutch oven or bread oven
- Parchment paper or bread mat
- Bread lame and blade
- Cooling rack
Time:
If you want to know what I like to use for bread making check out my SHOP page. Or go directly to my Amazon Storefront here.
If you make a purchase using these link I may make commission on the sale.

Let’s get started
The night before or 12 hours before you make dough
- Feed: your starter enough to make at least 95g of active starter.
- Cover: Make sure to loosely cover your starter.
- Place: Put it somewhere that is not drafty and cold. Also not too warm or it will peak before you get to use it.

Step 1:
The next morning
- Add: together 375 g-385 g of warm water, and 500 g of bread flour to your large bowl.
- Mix: so there is no dry flour left, the dough will look a bit shaggy. You can use a dough wisk. I like to use my hands.
- Cover: Then you are going to cover the bowl and let it sit for 60 minutes.
Quick tip: Stick with less water if you’re planning an elaborate score. Or if you are new to baking sourdough.

Step 2:
Adding the starter
- Uncover: After the 1 hour autolyse is done you are going to uncover the bowl of dough.
- Add Starter: Next add 95 g of active starter to your bowl.
- Dimple: Dimple the starter into your dough with your fingers.
- Stretch and Fold: fold your dough over your starter.
- Mix: Use the Rubaud Method to mix your dough until well mixed ( about 5 minutes).
- Rest: Cover and rest the dough for 10 minutes
Quick tip: Look at the clock and make a note of the time. Adding the starter marks the beginning of your bulk fermentation.
Want more details on how to dimple, stretch and fold or mix using the Rubaud method? Check out the in depth post with videos HERE.

Step 3:
Adding the salt
- Weigh the salt: add 10 g of sea salt to your dough.
- Wet Your Hands:run your hands under the faucet or dip them in some fresh water.
- Smooth: the salt over the surface of the dough.
- Dimple: Dimple the salt into your dough with your fingers.
- Stretch and Fold: fold your dough over your salt.
- Mix: Use the Rubaud Method to mix the salt in. Do this for about 5 minutes. Continue until the dough feels smooth with no salt granules.
- Cover: Cover the dough and let rest for 30 minutes.
Take your dough temp again and jot that down.

Step 4
Coil folds
You will be doing a total of 3 sets of coil folds, 30 minutes rest in between each fold.
- Temperature: Take your dough’s temperature before each fold. Don’f forget to write it down
- Coil fold 1: wet your hands, Gently pick up the dough from the center with both hands. Lift it slightly and stretch it upward.Place this lifted portion of dough over its self, towards the side of the bowl furthest from you. Repeat. Then turn the bowl 180° and do the same on the uncoiled side.
Turn the bowl 90°, so the folded edges are now facing you. Lift each end gently and tuck it under the dough to create a snug shape. - Cover and Rest:when you finish cover your dough and set a timer for 30 minutes.
- Coil 2: After 30 minutes repeat steps 1, 2, and 3.
- Coil 3: repeat steps 1 and 2. Then move on to step 6.
- Cover and ferment: when you finish cover your dough and leave to bulk ferment.

Step 5:
Bulk fermentation
Now its time to consult The Sourdough Journey’s Bulk Fermentation Chart Here.
I like the Secrets of bulk fermentation chart at this point. I use the time I added starter to decide the beginning of bulk fermentation.
Quick Tip: When I do this I was shown to get an average of the dough temperature. I also note how quickly temperature is rising or dropping. Depending on this I will lengthen or shorten the bulk fermentation.
A special thanks to my friend Kristen. She took the time to show me how to take my dough’s temperature, and use The Sourdough Journey’s charts.
Check out her instagram: PetalandProof
Now you have a rough idea of how long it will take to bulk ferment your dough. Remember to keep an eye on it!
Use The Sourdough Journeys Bulk-O-Matic chart to check for signs of dough that is well fermented

Step 6:
Ready to shape
Once you decide your dough has completed bulk fermentation. Then begin to shape your dough.
- Flour: your clean counter top lightly with bread flour.
- Basket Prep: your proofing basket with rice flour.
- Shape: your dough into an oval or round loaf depending on your proofing basket.
- Place: into the proofing basket.
- Stitch: if you want to stitch your dough wait 10 minutes, then stitch.
- Cover:Flour the top with rice flour and cover.
- Want more details on how to dimple, stretch and fold or mix using the Rubaud method?
- Not sure how to do a coil fold?
- Want tips about shaping or stitching your dough for an oval or round loaf?
- Or looking for information on how to stitch your loaf? Click HERE

Step 7:
Cold proof
- Leave: your dough in the fridge overnight make sure its covered well. This helps to develop sour flavor. You can let it cold proof up to 48 hours. This may affect flavor and crumb.
- Ready: Its ready when ever you are ready to bake the next day.
Quick Baking Time Sheet
- 1 hour: 500°F- dutch oven preheat.
- turn down to 485°F and put your loaf in.
- 5 minute-expansion score, take the loaf out and score.
- 30 minutes-lid on bake.
- 10 minutes- lid off bake.
- Take the loaf out and let it cool completely.

Step 8:
Baking
Preparing Your Dutch Oven & Dough
- Place: The baking vessel into the oven when it is cool and set the oven to 500°F.
- Preheat: Your dutch oven or bread oven need to be preheated for 1 hour.
- If you are planning a score which will take a long time ( 10 or more minutes). Place your dough into the freezer for the hour.
- If not leave your dough in the fridge until you’re ready to score
Ready for scoring
- On to parchment: After the hour of freezing (or not) place a bread mat or parchment paper over your loaf.
- Gently Flip: Secure the parchment or mat onto the proofing basket with your hands. Gently flip your dough over and out of the basket.
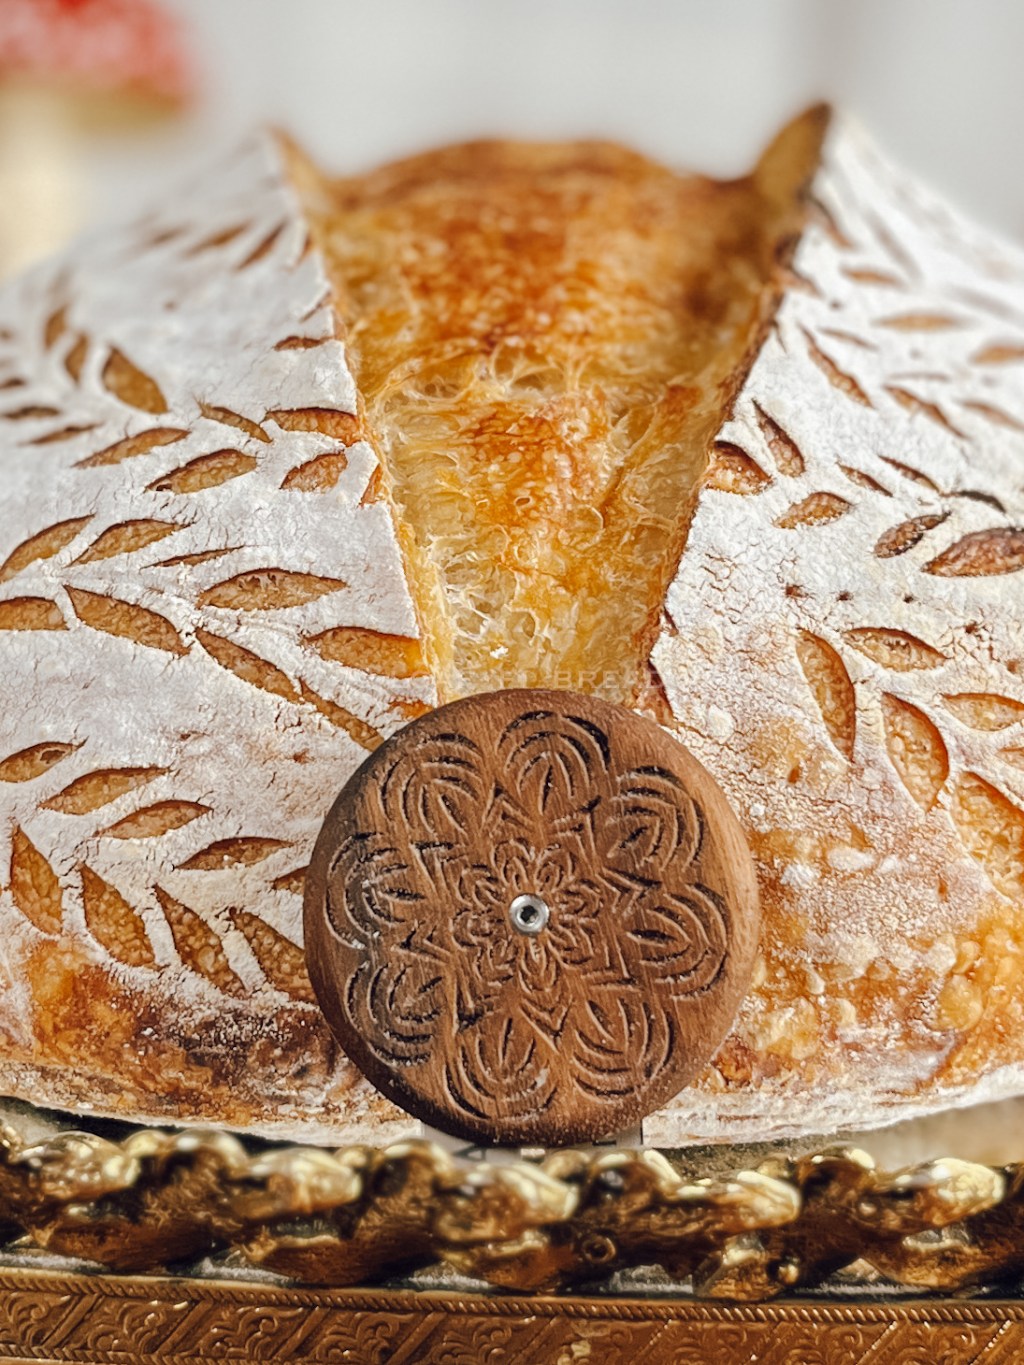
- Decorate: your dough with scoring (or not!) Need some ideas? Check out these free PDF sourdough design patterns.
- Expansion: Do the expansion score last.
Beginning baking
- Into the oven: Put the loaf, still on the parchment or mat, into your dutch oven. Turn the oven down to 485°F.
- After 5 minutes (optional): you can take your loaf out. Score again. This is called a “5 minute expansion score”.
- Or let it bake: If you do not want to take your loaf out, leave it to continue baking for the full 35 minutes.

Finishing the bake
- Place the lid: Put your baking vessel’s lid back on and put the loaf back into the oven.
- Covered Bake: bake for another 30 minutes. If you are not doing a mid bake expansion score, set the timer for 35 minutes. Do this when you place the loaf in the oven.
- Take the lid off: Bake the loaf uncovered for 10 minutes and finish baking. This gives the loaf a nice golden finish.
- Remove: Then take the loaf out of the oven to cool.
Quick tip: If you are worried its not baked fully, take the internal temperature. It should be above 200°F if its not put it back in and watch it closely.

Step 9:
Cooling your loaf
Once your loaf is fully baked
- Take It Out: of the baking vessel carefully.
- Remove: the parchment or mat.
- Let It Cool: completely on a cooling rack.
Quick Tip: This will take a few hours the loaf keeps baking as it cools! (I know,I know its hard to wait!)
Congratulations! Now you have a fresh loaf of sourdough to enjoy!
If you like this recipe but you want a more in-depth explanation, we have something for you. Click here to read the original post with videos.
If you have questions, please feel free to ask, or check out the FAQ page
This abbreviated sourdough recipe gives you a clear and simple way to bake your perfect loaf without wading through lengthy instructions. Ideal for experienced bakers or those who just need a refresher, it’s a handy go-to for sourdough success. Explore more detailed guides, tips, and creative sourdough ideas here on LoafFiBread.com to keep your baking journey fresh and exciting!
Please let me know if you try out my recipe. Share your thoughts with me. I’d love to hear if you make any variations!

Common Questions
How do I know when my starter is ready to use?
- A ready starter should be bubbly, doubled in size within 4-12 hours of feeding depending on the ratio it was fed, and have a pleasant, slightly tangy smell. The top of the starter should be dimpled but not domed.
What is bulk fermentation, and how long does it take?
- Bulk fermentation is the initial rise after mixing the starter into the dough. When yeast and bacteria start developing flavor and structure. It typically takes between 5-12 hours at room temperature but may vary depending on the temperature, hydration level, and starter strength. Warmer temperatures speed up the process, while cooler temperatures slow it down.
Why is my dough so sticky?
- Sourdough can be sticky, especially in higher hydration recipes. Use slightly wet hands when handling the dough, and try coil folds or stretch-and-fold techniques to help build strength without adding extra flour.
- Your dough could also be stick because of starter issues, or lack of proper fermentation.
How do I shape my sourdough without deflating it?
- Handle the dough gently during shaping to retain air bubbles. Lightly flour your work surface and hands, gently tuck the edges of the dough toward the center, and use your hands or a bench scraper to shape it into a tight round or oval.
How can I tell if my dough is fully proofed?
- Do the “poke test”: Gently press your finger into the dough—if the indentation springs back slowly, it’s ready to bake. If it springs back immediately, it needs more time; if it doesn’t spring back at all, it may be over-proofed.
- Look for bubbles.
- Use The Sourdough Jouneys tools
Why didn’t my loaf rise in the oven?
- A lack of oven rise, or “oven spring,” can be due to under-proofing, over-proofing, a weak starter, or not enough heat. Make sure your oven and baking surface are fully preheated. Use a Dutch oven or a bread oven to create steam and pressure. Use an oven thermometer to check the temperature of your oven is accurate.
How can I make the crust darker and crispier?
- To get a darker, crispier crust, bake the bread longer or at a slightly higher temperature, and remove the lid (if using a Dutch oven) halfway through baking.
How can I prevent the bottom of my loaf from burning?
- Double-Up Your Baking Surface: Place your Dutch oven, or baking vessel on the rack, and place a cookie sheet on the rack below. This creates an extra layer that helps shield the loaf from direct heat.
- Lower the Oven Rack: Position the rack a bit higher in the oven to increase the distance between the loaf and the heat source below.
- Reduce Baking Temperature: If the bottom is consistently burning, try reducing the oven temperature by 10-20°F (5-10°C) during the last 15 minutes of baking.


Leave a reply to Gift Ideas: Adorable Baby Sourdough Loafs – Loaf Fi Creative Living Cancel reply